#Siege Guide — From Outside to Inside
Contents
Scene Tool. This guide runs one campaign in which the attacking side opens a castle from outside to inside, divided into five scenes. It is not a giant siege battle table; each scene is compressed into one small zone battle map from
co. Every ruling follows the02-01 conversion procedureand02-02 structure cards, and does not create new checks or new numbers — it only cites and repackages co Breakthrough, Domination, and squad rules.
#Scent — Before the Gate
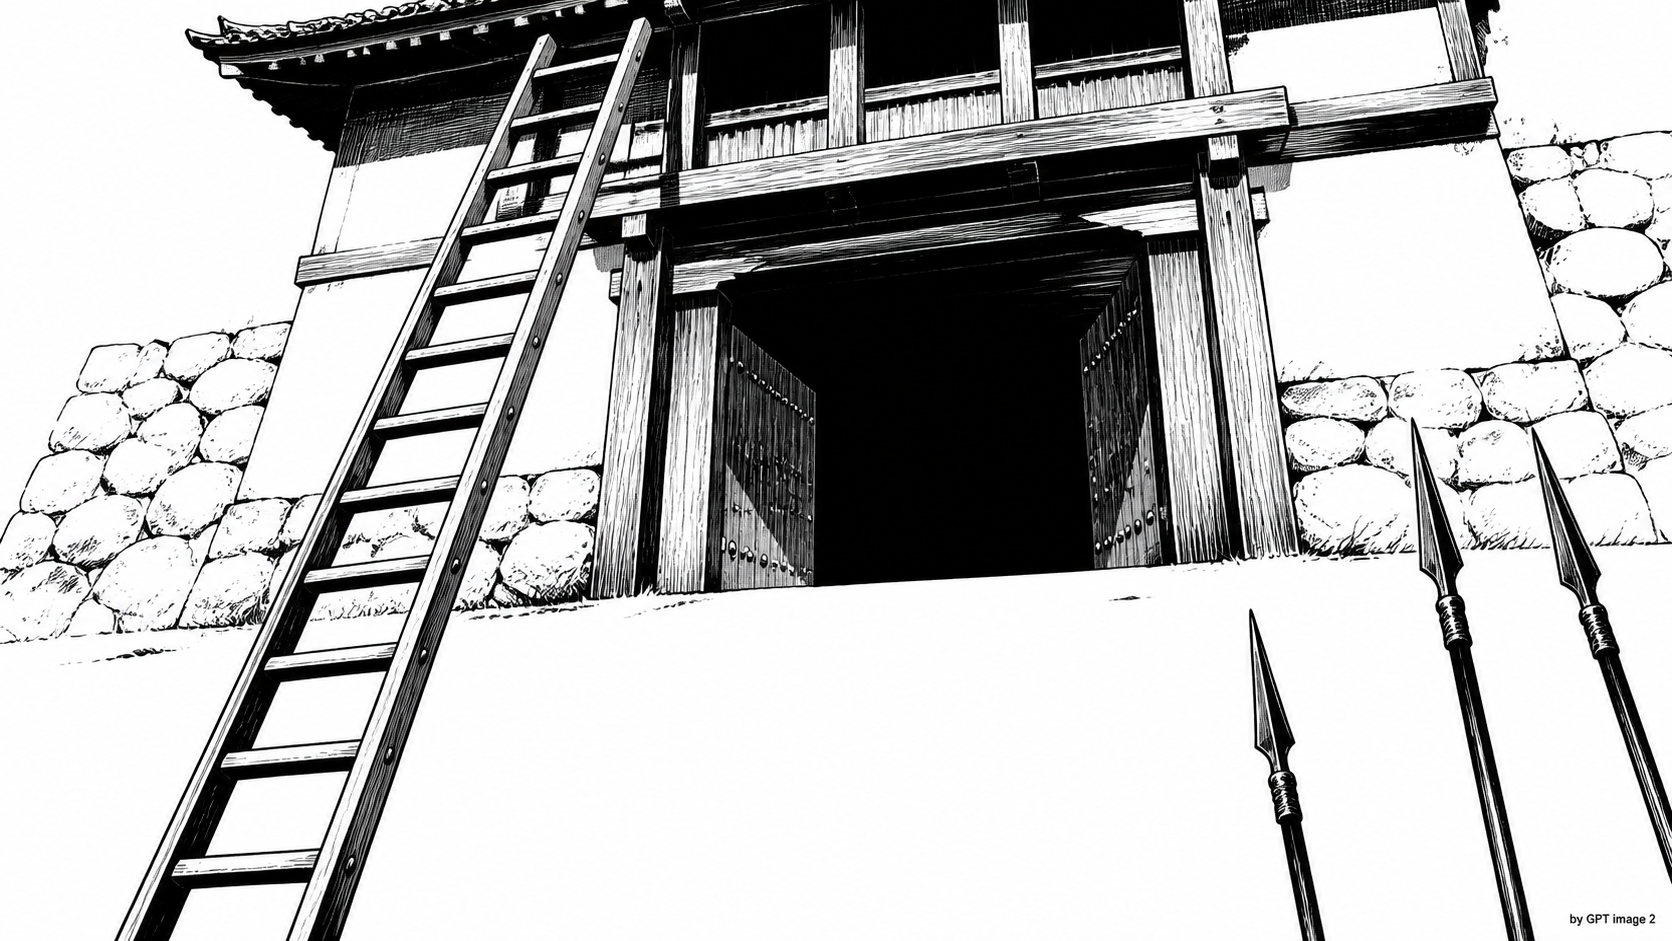
Standing below the castle wall, not yet knowing whom that gate is keeping inside, we send up the first scout.
It is dawn. The castle sits on the mountain ridge as a black outline, and we have gathered beneath its shadow. There are two questions — Can it be opened? And is it worth opening? Before drawing steel, decide where to knock.
#Mode Overview — How to Open Kageyama Castle
Central question: before knocking on the castle gate, decide where to knock.
What the attacking side is trying to win is not occupation. It reaches the honmaru (Core Zone) and forces surrender — or, more often, reduces the defender's resources and morale to 0 first. Cut the well, burn the supplies, and grind down cohesion; the castle gate opens from the inside before a blade touches it (reading 04-02 holdout clock backward from the attacking side).
Do not place the whole castle on one map. co combat is zone combat that draws only 3~7 zones at a time (index principle), so siege is divided into five independent scenes. First choose which scene to unfold in today's session:
| Scene | One line | Linked tool |
|---|---|---|
| ① Reconnaissance | Where is it weak? | reconnaissance and Perception checks |
| ② Weak Point Choice | Where should we knock? | 02-02 structure card branch |
| ③ Pressure | Cut down the defending hand | squads, Archery, fire attack (02-03) |
| ④ Breakthrough | Pierce the Blockade | co-05-03 Breakthrough |
| ⑤ Honmaru | End it in the Core Zone | Core Zone |
#Scene Bundle — Five Scenes
The order is recommended, not mandatory. If reconnaissance is skipped, weak point choice becomes a gamble; if pressure is skipped, the Breakthrough Target Number remains high. The price of a skipped scene returns as pressure, not a new rule.
#① Reconnaissance (偵察)
Identify approach routes, guard movements, and candidate weak points. Use reconnaissance and Perception checks (the co convention of odd general Target Numbers — usually in the 9/11/13 range, not a fixed number); the more successful the check, the more information advantage stacks into the next scene (weak point choice). A total failure leaves weak point choice as a blind gamble. This also connects to the "reconnaissance" seasonal action in domain management (co-03-10) — if the castle's defenses and public sentiment are read one season ahead, its weak points appear before the battlefield.
#② Weak Point Choice (弱點 選定)
Choose one of four branches. Each choice decides which 02-02 structure card it connects to, and which pressure type applies in the later scene:
| Choice | Linked structure card | Later-scene pressure |
|---|---|---|
| Main gate frontal attack | Otemon and castle gate (narrow path Blockade) | time · morale — frontal Breakthrough |
| Weak wall or earthwork | wall, earthwork, stonework (collapse → gap) | time — brought down with tunnel or fire attack |
| Secret passage | secret passage (Outside Zone) | collusion — overlaps with Infiltration |
| Collusion and bribery | castle town (social zone) | public sentiment · collusion — open the gate from inside |
#③ Pressure (壓迫)
Cut down the defender's Domination, cohesion, and supplies with blocking, fire attack, shooting, and harassment. The core is the standard method of lowering enemy-zone Domination (co-06-06):
- Squad volley fire —
2d10 ≥ target Defense(no modifier). Depending on hit strength, remove 1~3 mooks / reduce a party's cohesion by -1 + Wounds. Cut down shooters on the wall and the Blockade loosens. - Archery ranged attacks — the standard method for defeating Blockaders and Domination-contributing units to Disable a
narrow path Blockade(ranged shooting is Archery — covering bows and teppo, with no separate gun skill). - Intimidation and negotiation — shake enemy cohesion with intimidation, and reduce squads without a sword through negotiation (bribery and surrender offers).
- Fire attack and smoke — follow
02-03 hazards(fire zone 1 Wound each lull, and so on — not redefined here).
#④ Breakthrough (突破)
Force entry into the castle gate or Blockaded zone. Use the fixed Target Numbers as written from co-05-03 (2d10 + Courage, cost 3 Energy):
| Situation | Target Number |
|---|---|
| Enemy advantage (difference 1~4) | 11 |
| Enemy complete control (difference 5↑) | 13 |
| Blockaded narrow path | 15 |
- Shield-wall charge — squad order (3 Energy) + cohesion -1 for automatic Breakthrough success (
co-05-03). A move for pushing a Blockaded castle gate with a squad. - On Breakthrough failure, the character becomes vulnerable + unable to move (failure to break a Blockade means unable to enter that zone until their next count — knocked back). Only those who have applied enough pressure (③) can reduce this gamble.
#⑤ Honmaru (本丸)
Pressure the final Core Zone. Honmaru = Core Zone, the lair of a type 3 boss (02-02 honmaru card):
- Forcing a Core Zone Breakthrough is fixed Target Number 13 (
2d10 + Courage) — because Domination offset (Zero-Sum) means the 11/13/15 framework is not applied (co-05-03·co-05-04). The 6 freely entering classes (ronin, shinobi, esoteric monk, shugensha, wildlander, hanyo) enter for 2 Energy. - As long as the castle lord remains on the throne, they automatically recover Wounds every round — the scene ends only after they are drawn out (push, forced movement, duel provocation) or the recovery cause is cut off first.
- Exit. End the contest by disposing of the chapter or recommending surrender. Do not forget that the goal is not occupation, but extracting surrender.
#Zone and Check Connections — What Uses Which Check
Follow the 02-01 conversion procedure. Individual structure rulings point to the
02-02 cardsand do not redefine them. The table below is not a list of new checks, but an index to the existing 36 skills.
| Scene | Skill(36) | Connection Rule |
|---|---|---|
| reconnaissance | reconnaissance·Perception | odd Target Number, co-03-10 seasonal reconnaissance |
| weak point choice | reconnaissance·strategy family | 02-02 branch |
| pressure | Archery·intimidation·negotiation + squad volley fire | co-06-06 |
| Breakthrough | Courage-based Breakthrough | co-05-03 11/13/15 |
| honmaru | Courage-based Core Zone Breakthrough | co-05-04 fixed 13 |
Siege Seen Through Domination. Attack is ultimately the act of making ally Domination > enemy Domination in the target zone (co-05-02). Enter with squads, use volley fire and ranged attacks to cut down enemy Domination, and if the difference reaches 5 or more, complete control applies (Breakthrough +2). Against a Blockaded narrow path, the standard method is to cut down the Blockaders at range and lower Domination, rather than attempt a frontal Breakthrough (Target Number 15).
Squad Operation. The attacking side's squad volley fire, cohesion, collapse (cohesion 0), rout (Wounds 0), and reorganization cost are exactly as in co-06-06; harassment stance (+2, 2 Energy) and shield-wall formation (Domination x1.5) are from co-05-02 Domination. A squad order costs 2 Energy by default (1 if Wisdom +2), and Core Zone entry costs +1 Energy and cohesion -1. Militia additions and cohesion modifiers use public sentiment ≥7 militia +1 / ≤2 cohesion -1 from co-03-10.
Compressed Examples. Vary
co-05-0603 castle gate pressure battle (Breakthrough scene), 13 gap in a collapsed castle wall (Core Zone after collapse), and 21 fortress counterattack (defender counterattack). Do not draw a new map.
#Table Hooks — For the GM
Why open this castle? Cause (subjugation order), revenge (stolen land), rescue (hostage or allied holdout), or plunder (supplies and spoils) — the texture of the siege is divided by its motive. The same Kageyama Castle becomes a different story depending on whether the attackers came to save or to take.
Scenario Hooks:
- Time-limit type — the castle must fall before reinforcements arrive. Every round and every lull is a clock.
- Collusion type — there is a collaborator inside the castle. One signal opens the back gate, but if discovered, he dies.
- Moral type — there are civilians or hostages inside the castle. Fire attack is the fast path, but whom does it burn?
- Spirit Realm type — the shrine's seal breaks during the siege (
Barrierdestruction →Spiritual Taint). Opening the castle becomes releasing something worse (self-contained with co gimmicks, without fc08).
Mode Shift on Failure — Keep Using the Same Kageyama Castle:
| Where it stalls | Where it goes |
|---|---|
| Breakthrough failure·prolonged battle → holdout stalemate | 04 defense and holdout (positions invert) |
| Frontal route blocked | 05 Infiltration (toward the road that breaks the agreement) |
| Plunder and arson after the fall turn the stage into ruins | 06 ruin exploration (read the collapsed layers) |
Siege often does not end cleanly. Failure is not a dead end, but the entrance to the next mode.
"Before knocking on the castle gate, look at whom that gate is keeping inside — and decide whether to starve him out or drag him out."