#The Convict's Cord — Novice One-Shot
Contents
Read this single piece and run it as is, and it becomes your first session. On top of checks and combat, it also teaches squad warfare (Squad Command). There are no new rules — everything is cited from the
cocore rules. For numbers, the cheat sheet and the one-page "Squad Quick Rules" below are enough.Length: 1 session (about 2–3 hours). Headcount: GM 1 + PC 2–4. PC: 1st dan (just use the recommended party as is).
#One-Line Logline
Convicts / to be cleared of their crimes / must scout the temple of a high monk gone silent and return alive.
The Truth (GM only). Keikai, the high monk of Jiganji, attempting sokushinbutsu, became a Kaibutsu — a living-buddha monster that can neither move nor speak. The temple has sunk into a sanctified zone, and within it a pack of yoko hides, wearing the faces of the vanished scouts and monks. The scouts sent first attacked the Kaibutsu in the ordinary way and either destroyed themselves on its Spiritual Reflection or vanished one by one to the yoko. This is not an enemy to be beaten. The mission was, from the start, "go and see" — the answer is to scout and return, or (if there is Exorcism) the Quelling Rite. A reckless frontal fight is the road that follows the scouts' tracks.
#Cast
- The PCs — convicts. Each was thrown into the daimyo's prison for a different reason (charge table below).
- Katagiri the bugyo. The daimyo's retainer who offers the deal. Expressionless. "Go and see. Return alive, and your crimes will not be charged."
- Sakon — teppo-corps captain. The command ashigaru of the Teppo Corps accompanying the PCs. He is the watcher and executioner who shoots you first if you run. During the mission, however, he obeys the PCs' command.
- Stage: Jiganji, the temple on the mountainside. The road there, the precincts, and the main hall — three are enough.
#Charges — Why You Were Imprisoned (per the recommended party, change freely)
| PC | Charge |
|---|---|
| Masamune (samurai) | Insubordination for defying his lord's order to cut down an innocent |
| Maria (gaijin) | Suspicion of espionage, imprisoned as a suspected foreign spy |
| Renge (Pure Land Monk) | Aiding the enemy for sheltering a temple at odds with the daimyo |
| Hanabi (entertainer) | Lese-majeste for mocking the daimyo with a forbidden song |
For a different PC, pick one from debt, desertion, forbidden faith, accidental killing, and write it in one line. The charge is the motive of Act 1 and gives weight to the choice in Act 3.
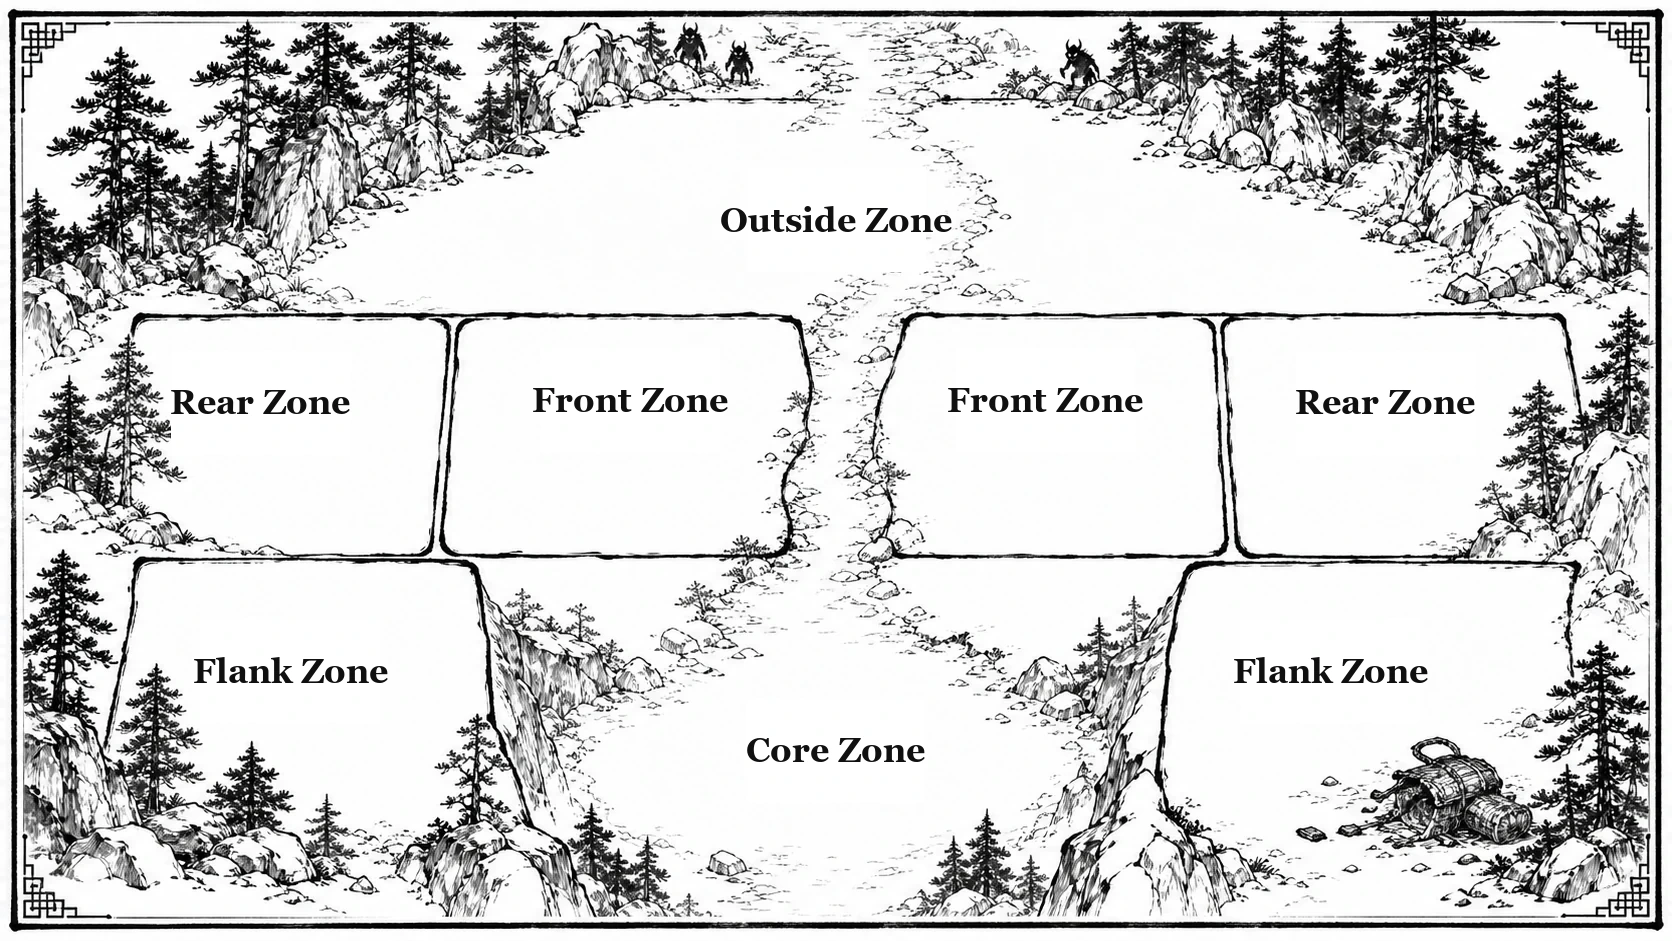
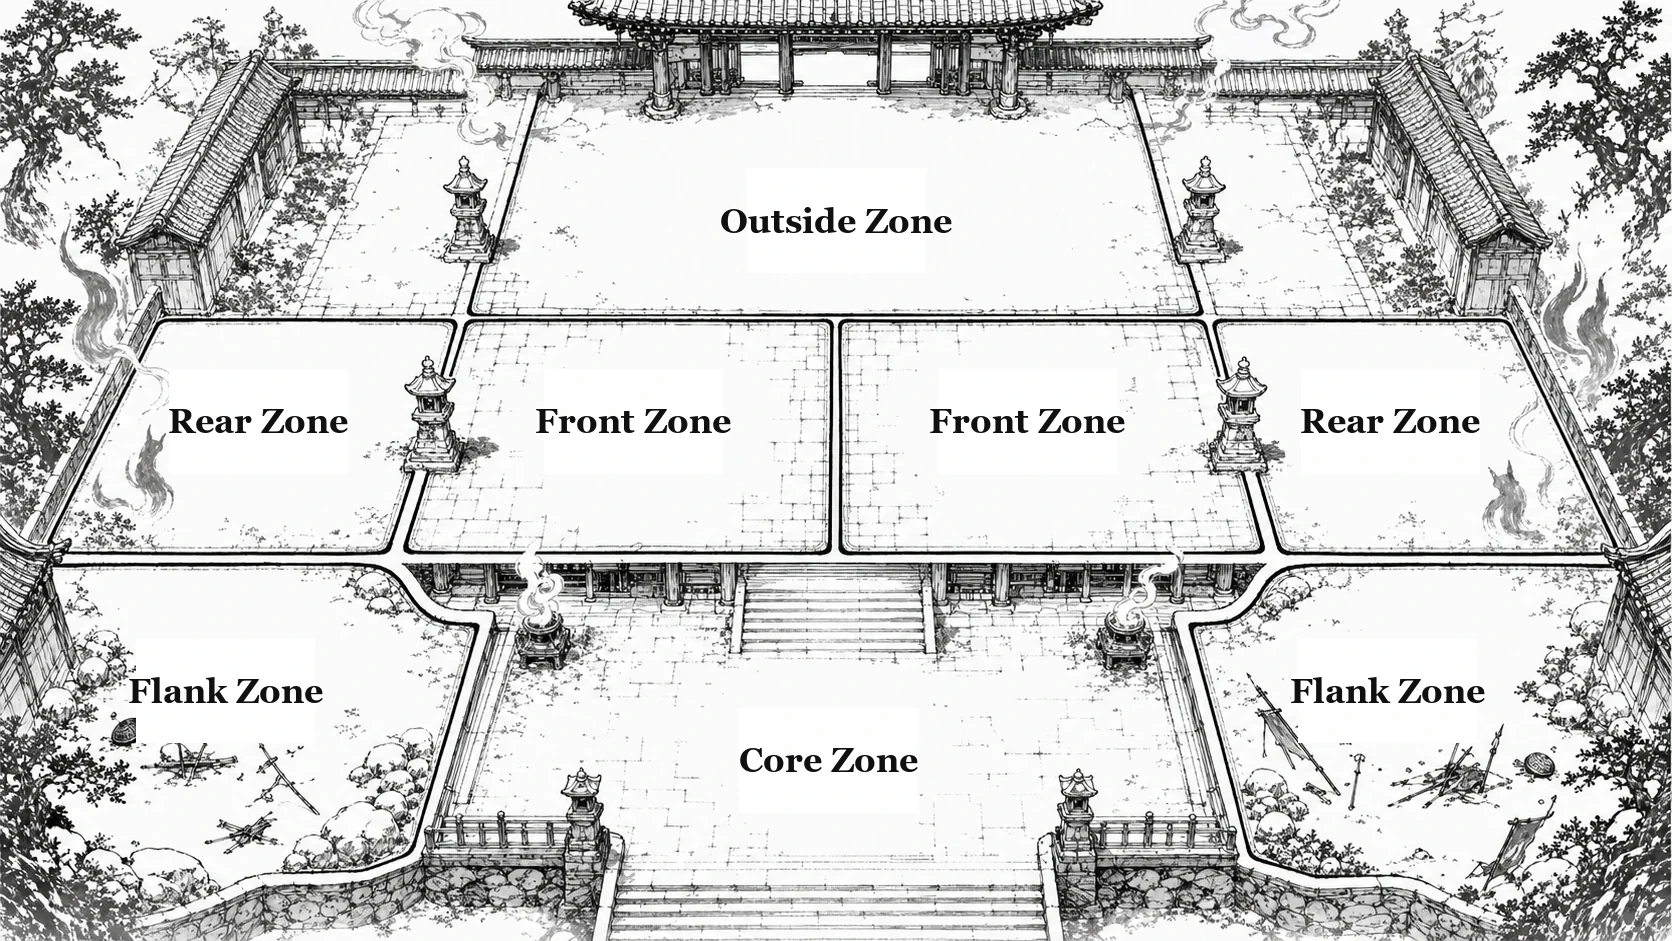
#Squad Quick Rules (this one page runs squad warfare)
The PCs command a Convict Squad (meatshield) and a Teppo Corps (ranged executioners). A squad does not act on its own. The PC moves it with a Squad Order on their own breath.
- Squad Order cost: 2 Energy (1 Energy if Wisdom is +2 or higher).
co-06-06 - You only need to know 3 orders:
- Volley Fire (Teppo Corps): Squad Order →
2d10 + Archery ≥ target's Defense(teppo use a fixed target number 11,[Pierce all]). Hit = remove 1 trooper, total 13+ → 2, 17+ → 3, Critical Hit → 3. - Shield Wall Formation (Convict Squad): Squad Order → Domination in that zone ×1.5, no relocation that round. It becomes a wall.
- Shield Wall Charge: 3 Energy + Cohesion -1 → entering an enemy zone is an automatic Breakthrough success (no check).
co-05-03 - Cohesion (morale) — track just one number per squad: base 3. If a PC (the lead) falls, immediately -1 to all allied squads. -1 whenever half die, or on Fear, or on each entry into/exit from the Core Zone. At 0 it Routs (Retreat, no orders — return with
2d10 + Presence ≥ 13each lull; the recovery check is rolled by the PC commanding or adjacent to that squad using their own Presence — with no adjacent PC, it waits until the next lull). Wounds 0 is Destruction (permanent annihilation, different from Cohesion 0). - Squad damage handling: do not count troopers one by one — settle it in a batch at the lull. If the squad was visibly thinned that round (roughly half become casualties), apply Cohesion -1 once. All troopers removed = Wounds 0 = Destruction. Track Cohesion and Wounds separately.
- Executioner Hook: If a PC betrays or flees, Sakon of the Teppo Corps turns that Volley Fire on the PC. For a first session, the threat is enough.
For a first session, these three and a single Cohesion are enough. Skip tactic slots, support squads, the no-command table, and pitched battle. Details:
co-06-06squads.
#Act 0 — The Prison and the Deal (about 15 min)
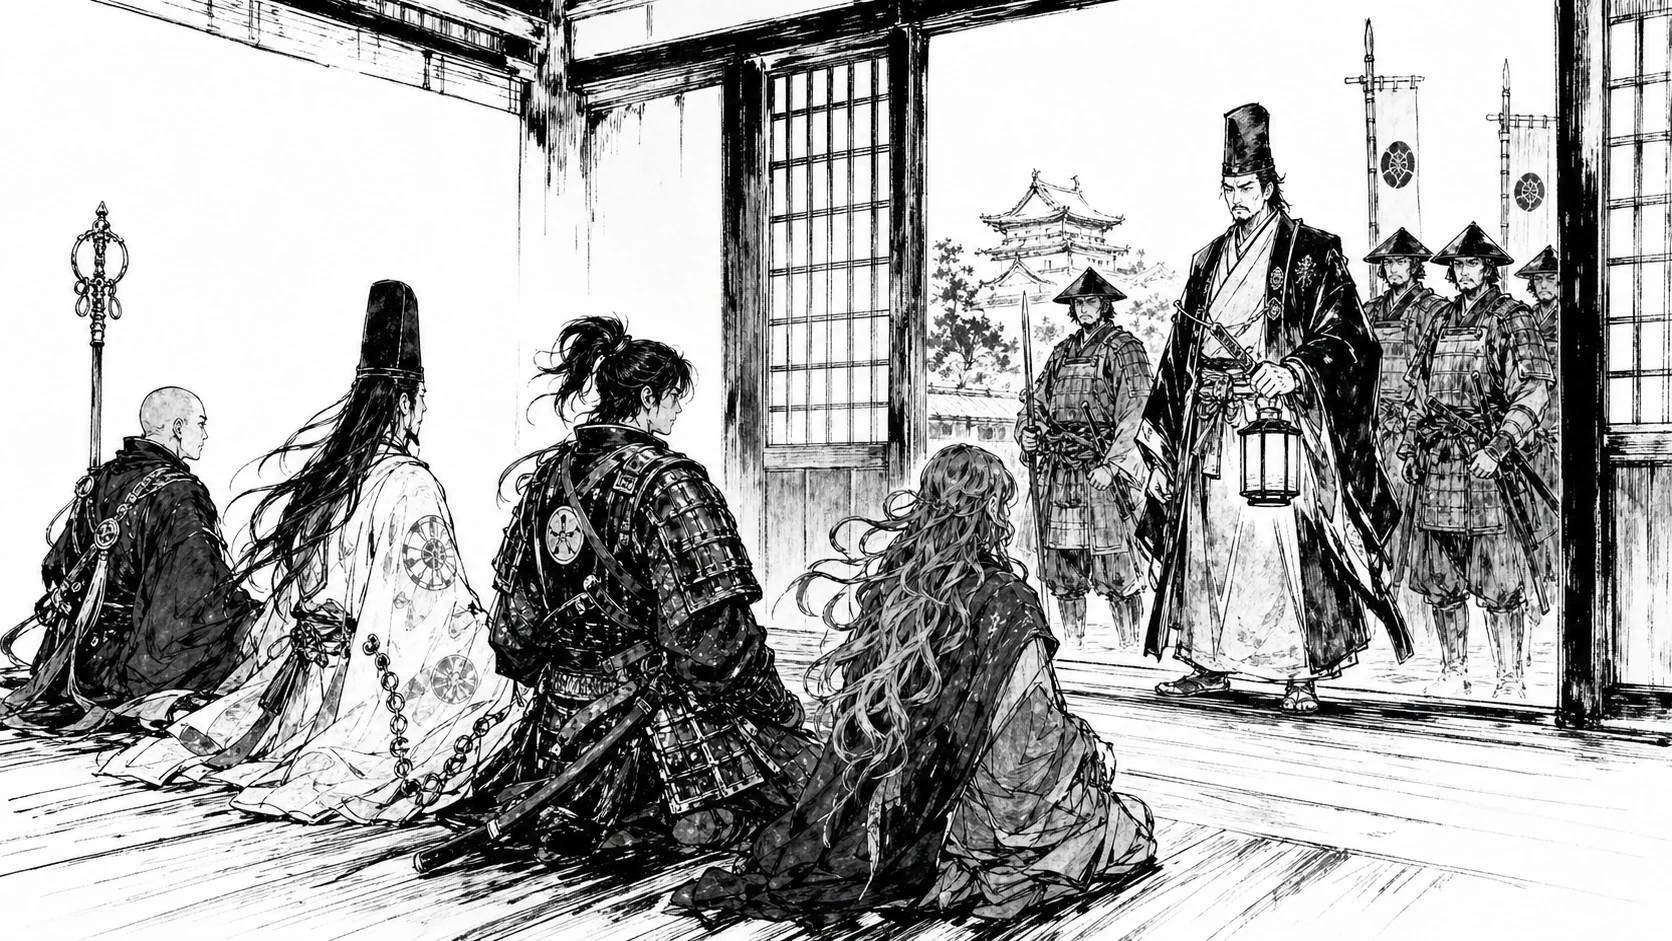
(read aloud) A musty earthen-floor prison. Beyond the lattice a man stands holding a lantern. The daimyo's bugyo, Katagiri. "I sent men to Jiganji. Three. None returned. You will go and see. Return alive — and the crimes become as if they never were." Behind you comes the smell of burning matchcord. A band of teppo ashigaru stands in the dark.
- Set each PC's charge (table above) and introduce it in one line. It is the seed of motive and conflict.
- Squad issue: a Convict Squad (the other convicts — your meatshield) + a Teppo Corps (Sakon commands it, but during the mission it obeys your orders). Sakon nails it down: "Run — and we shoot you first."
- Explain the "Squad Quick Rules" in 1 minute here. The real thing comes in Act 1.
▶ Spotlights by Class (Act 0). (Pick only the classes present in the party.)
- entertainer — Negotiation with the bugyo (
2d10+Presence+Negotiation ≥ 11) on success → a fragment of a clue about the vanished scouts (a whisper that the temple is not merely dangerous).- samurai — Steady the Convict Squad with a warrior house's prestige → Convict Squad Cohesion +1 (2 → 3).
- gaijin — Push back on the deal with an outsider's eyes → the GM reveals one more layer of the mission's true weight (no one has returned).
#Act 1 — Approach: Checks and the First Squad Battle (about 40 min)
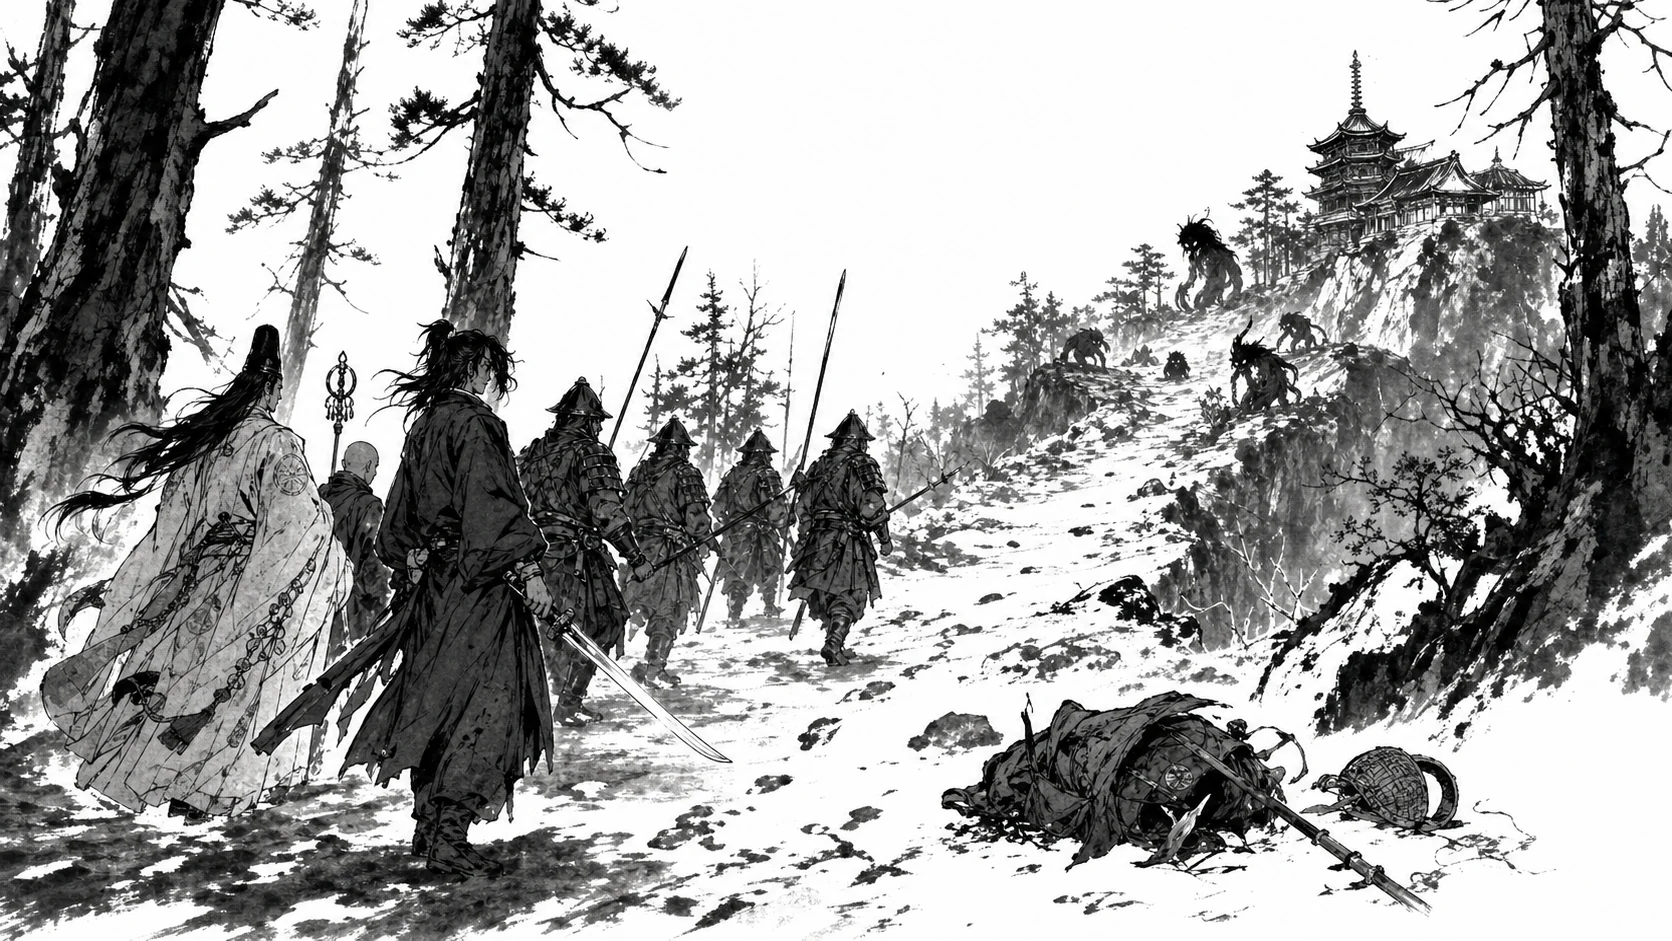
You climb the mountain path. Make the first check feel natural: a forest where the birdsong has ceased, traces of the scouts. Here you roll 2d10 + attribute + skill ≥ target number for the first time.
- Read the Traces — Perception/Survival, target number 9 (Moderate). On success: three lines of footprints head toward the temple, and there are no returning tracks.
Then the first squad battle (warmup). At a bend in the road, hungry wild yoma — a swarm of lesser yoma flickers about. You win it easily.
- Here you use the two squads for the first time. Teppo Corps Volley Fire (2d10 ≥ against lesser yoma is nearly automatic — lesser yoma die instantly on declaring an attack), Convict Squad Shield Wall Formation to block the path. The PCs each make their own attack (
2d10+Courage+martial skill) once too. - Show Cohesion for the first time: if the lesser yoma are many, the Convict Squad tastes a −1 once (half become casualties). Write down just one number.
Sakon reminds them once more: "Shooting is easy. Where to shoot is the hard part." — a line that teaches that Volley Fire designates a single target.
▶ Spotlights by Class (Act 1).
- shinobi — Scout ahead via the Flank Zone (Perception
≥ 9) → catch the ambush early for Surprise Attack +2 in the first squad battle, or avoid the Convict Squad's first Cohesion -1.- ronin — Find a shortcut with Survival/Geography → the Approach speeds up and you seize an advantageous position first.
- onmyoji — Send a shikigami ahead to scout → reveal in advance the number and position of the yoma along the road (neutralizing the next ambush).
- gaijin — Thin out a row with Volley Fire → the pressure on the Convict Squad lessens and you save Cohesion.
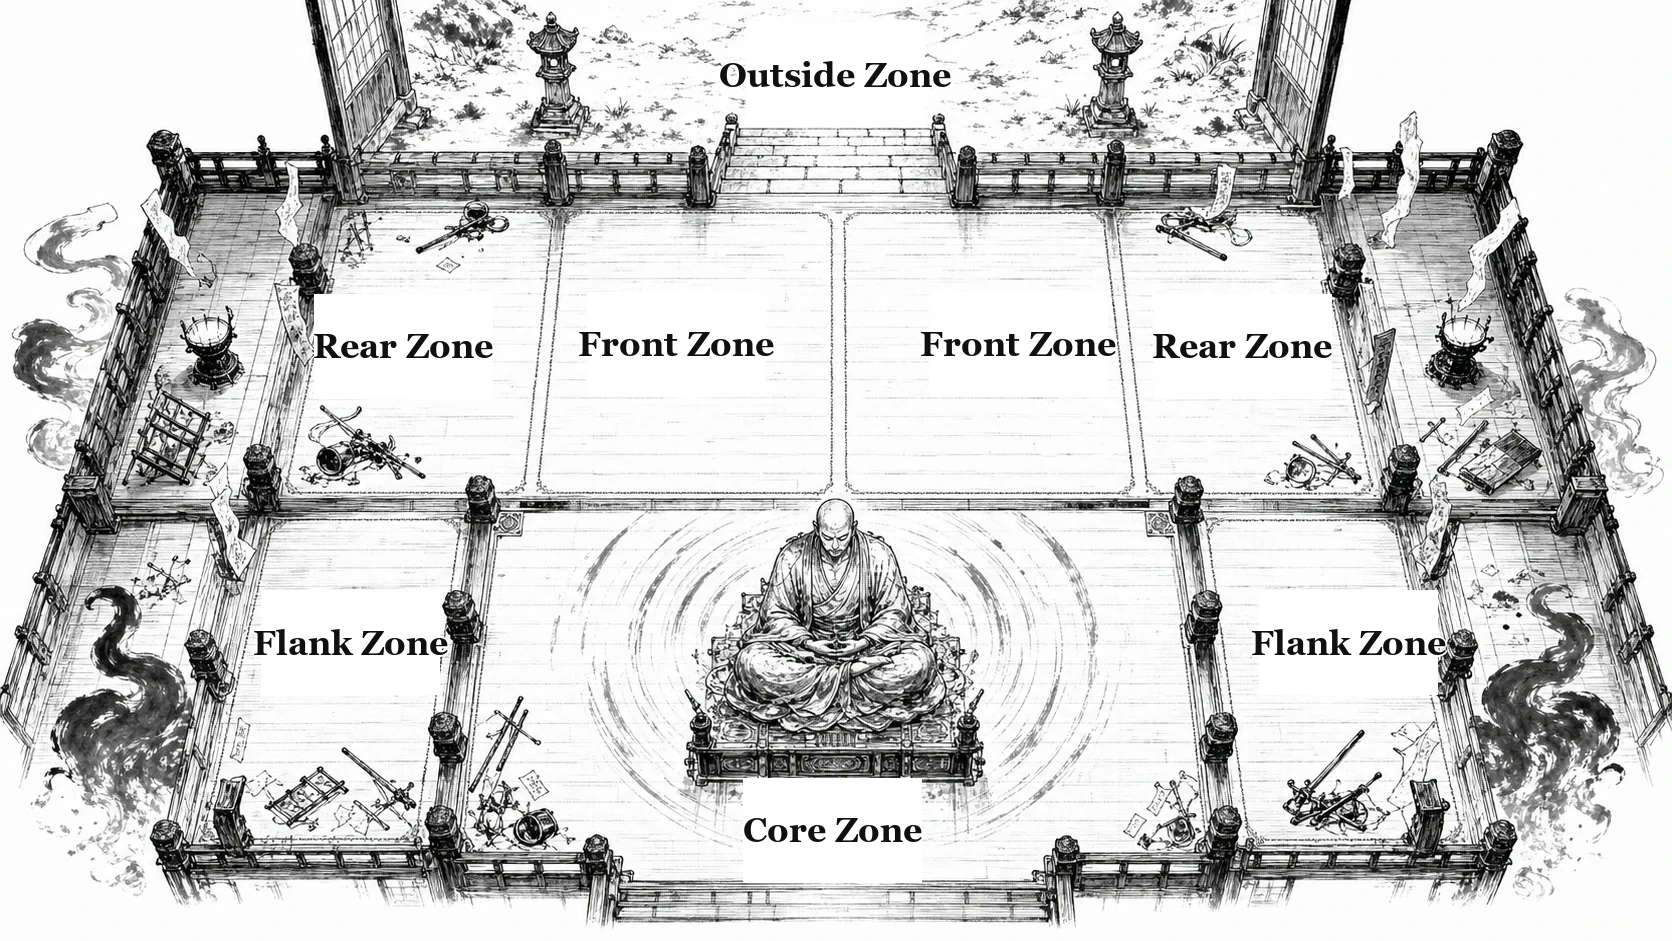
#Act 2 — The Temple: Seeing Through and a Full Squad Battle (about 50 min)
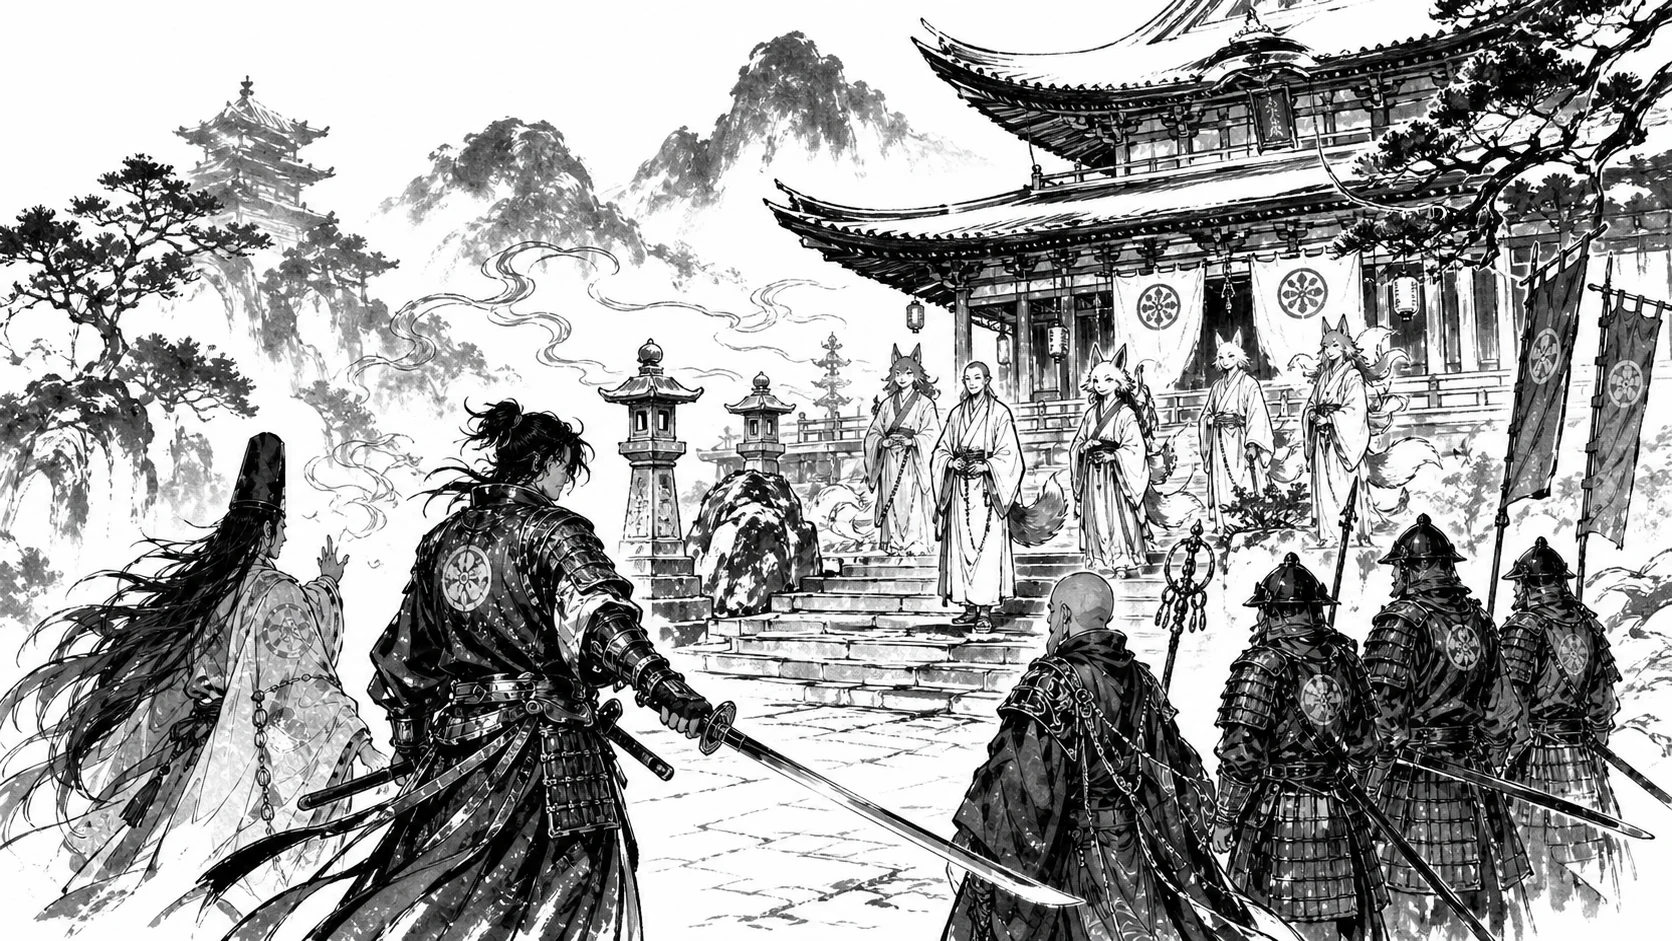
The precincts of Jiganji. An ominous stillness. The scent is thick and the air heavy (the edge of the sanctified zone — unfavorable to yoma, and chilling even to humans).
Reunion with the vanished. The "scouts" and the "monks" greet you alive — but they are yoko (Disguise).
- Seeing Through: Perception target number 13. On success, you notice the off-kilter speech habits and the feet that cast no shadow. Even on failure the GM leaks a small clue (bristling back-fur, a sneering mouth) to grow suspicion.
- First Choice of the Three Ways and Six Hearts — after learning the truth: Negotiation (Compassion) / Inquiry (Truth) / summary execution (Supremacy). The Way (heart) written on the sheet and the charge take on weight here. Any choice may spill into combat.
The full squad battle. The yoko, their disguise revealed, attack as a yoko trooper squad. Run one proper squad battle with the Convict Squad (wall) + Teppo Corps (Volley Fire).
- The teppo's fixed target number 11 and Volley Fire thin out yoko slipping into the Rear Zone by range (the yoko are Unarmored, so armor Pierce is meaningless — the teppo's menace is range and a fixed to-hit). Using their Disguise and concealment, the yoko try to slip into the Rear Zone, so block the path with the Convict Squad and thin them with the teppo.
- (Optional) Added pressure — if a Floating Onryo Squad lets cold seep from the direction of the main hall, Cohesion -1 + Fear accumulates on the PC squads. Cohesion management gains meaning.
▶ Spotlights by Class (Act 2).
- onmyoji — Read the yoma's origin (Sorcery/Prophecy) → ease the yoko Seeing-Through target number 13 → 11.
- entertainer — Sound out the "survivors" through Negotiation → draw out an off-kilter answer for Seeing Through +2.
- shinobi — Infiltration scouting before the main hall → grasp the number and hiding spots of the yoko squad (the first Volley Fire's target to your advantage).
- esoteric monk — Point out the suspect with Exorcism (mudras and mantras) (Exorcism
≥ 11) → forced release of the yoko's Disguise.- Pure Land Monk — Press down the chill of the sanctified zone with sutra-chanting and offerings → nullify the PC squads' Fear -1 that act.
- gaijin — Catch a yoko hiding in the Rear Zone by range with the teppo (fixed target number 11) → reliably thin out the one in disguise.
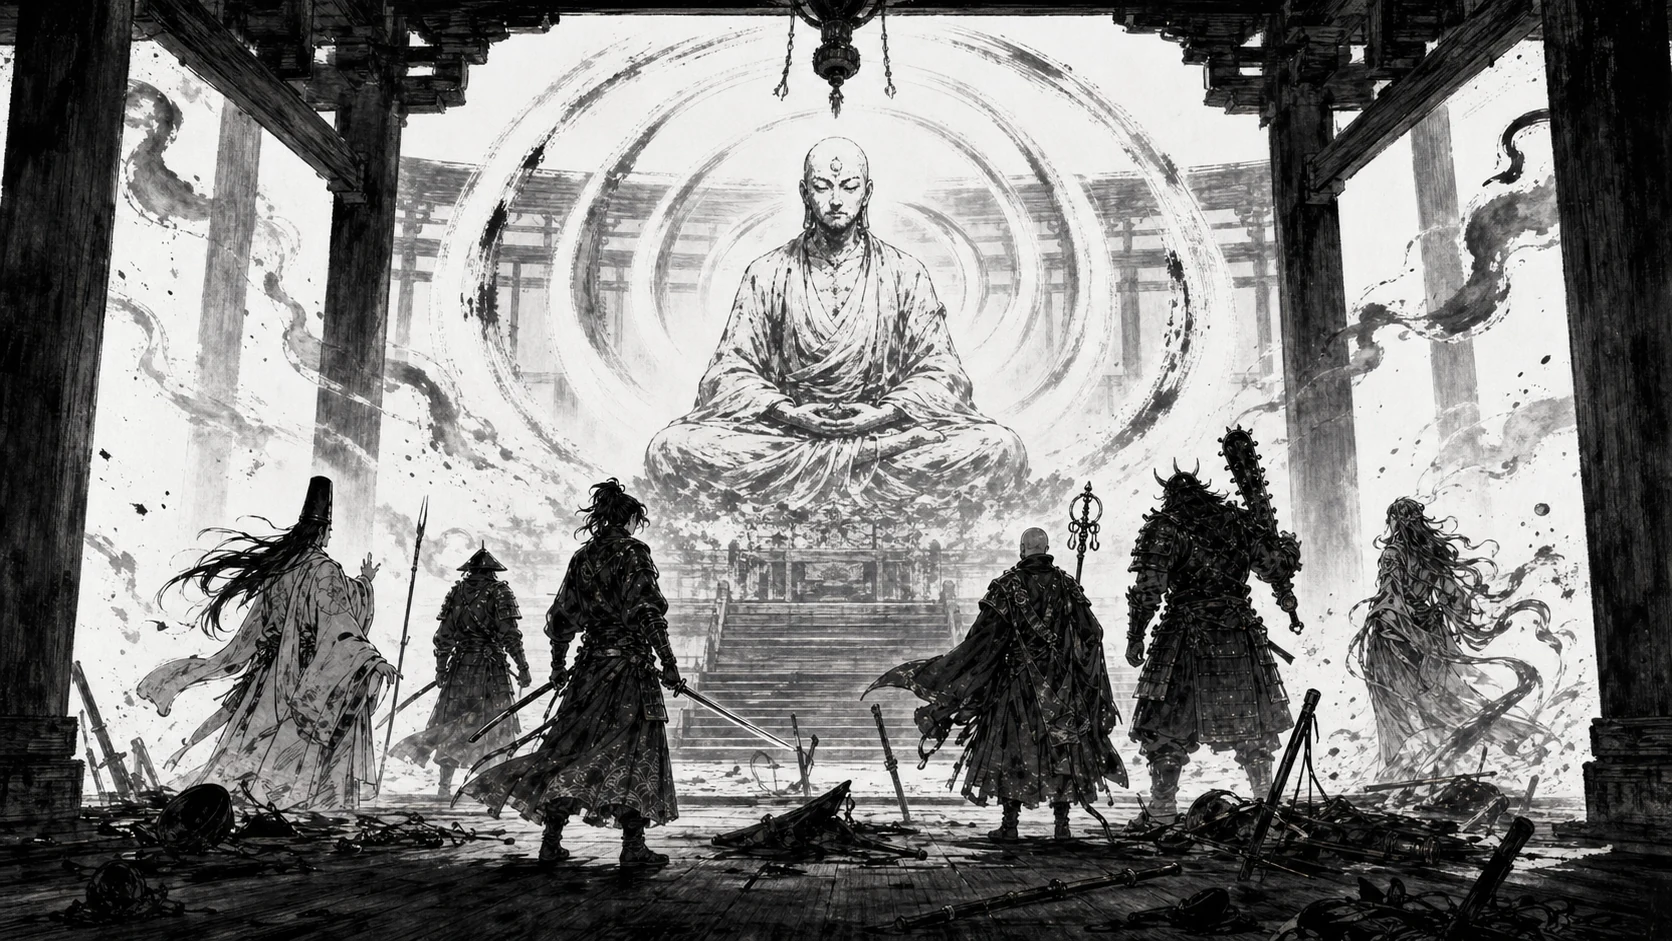
#Act 3 — The Kaibutsu of the Main Hall: Climax of the Riddle (about 30 min)
The main hall's doors open.
(read aloud) A vast golden figure sits frozen in the full-lotus posture. What was once a person — the high monk Keikai. The eyes are shut and the mouth is sealed, the skin hard as if lacquered. It does not move. It does not speak. Yet the air around it pushes you away. On the floor lies the gear of the scouts who came before — without their owners — scattered about.
This is a Kaibutsu. The truth to grasp: you must not fight. The Kaibutsu can neither move nor attack, but its Wounds are effectively infinite and decrease only by the rite of Exorcism. On top of that, Spiritual Reflection — it returns Sorcery and curses onto the caster. The scouts, not knowing this, destroyed themselves.
Give the choices clearly:
- (A) Scout and Return — mission complete. It was "go and see" from the start. Carry back what you saw and return alive, and the mission is achieved. The safest, and a fully valid answer.
- (B) The Quelling Rite — if there is Exorcism. A holder of Exorcism — Pure Land Monk, esoteric monk, onmyoji, shugenja, and the like — leads a ritual check (Exorcism ≥ 13–15, with a bonus if several assist). How to roll it: an Exorcism check on your own breath (target number 13 to Quell · 15 for a full seal). One Exorcism hit = the Kaibutsu's Wounds -1 (co base Wounds 20), so it does not end in one blow — for a first session, abstract a cumulative 3–4 successes as a Quelling. Cooperation = if another Exorcism PC helps on their own breath, the leader gets +2 (within the +10 modifier cap). On success, it lays Keikai's soul to rest and purifies the temple. Even on failure there is no instant death — the sanctified zone surges once, and urges return. (co-04-07-24)
- (C) Frontal Attack — a warning. Sorcery and curses return via Spiritual Reflection (the effect onto the caster themselves). Physical attacks bounce off the hard skin (high Defense). One attempt teaches you, in your own body, why the scouts died (for a first session, a strong warning instead of a fatal wound).
If the table wants a boss → go to "Act 3 Variant: Boss Battle" below. The Kaibutsu may not have frozen on its own.
Final pressure (optional). The Floating Onryo Squad moves to whittle down the rest of the PC squads' Cohesion. When Cohesion 0 = Rout happens before their eyes, the weight of the squad rules is complete. If the Pure Land Monk Renge has "Amida's Shield," it stops the Rout at 1.
▶ Spotlights by Class (Act 3).
- Pure Land Monk / esoteric monk / onmyoji — Lead the rite of Exorcism (Exorcism
≥ 13–15, bonus when cooperating) → quell and seal the Kaibutsu (high-difficulty bonus).- entertainer — A final Negotiation with a yoko left alive → obtain ahead of time the campaign hook ("who made him that way").
- shinobi — Perception/Disable the main hall's traps and back routes → secure a safe retreat in an emergency.
- samurai — Screen the Floating Onryo's pressure with the Convict Squad shield wall → delay the Cohesion Rout.
#Act 3 Variant — Boss Battle: Ashiya Dosei the Binder (Optional)
The Kaibutsu standard holds — "scout and return" is still the safest answer. This variant peels back one more layer of the truth for a table that wants a boss battle.
The Truth Behind the Truth (GM). Keikai did not freeze on his own. The sorcerer Ashiya Dosei (蘆屋道淸) — a fallen one of the Tsuchimikado-ryu, at odds with the Abe house (Seika's bloodline) — killed the high monk and sealed him into a Kaibutsu, taking that sanctified zone and the spirit-vein as his own. The yoko are his shikigami and underlings, and the faces of the vanished scouts are ones he draped over them. (The answer to the yoko's leaked "who made him that way" is Dosei himself.)
Entrance. When the PCs probe the flow of the spirit-vein or move to touch the Kaibutsu, Dosei walks out from the shadow of the main hall. "That buddha is mine. You too — will make good material."
#Ashiya Dosei (蘆屋道淸) — curse-rank sorcerer
| Courage | Finesse | Physique | Wisdom | Presence | Fate |
|---|---|---|---|---|---|
| -1 | +0 | +0 | +3 | +2 | +1 |
- Wounds 5 · Defense 14 (Unarmored + talisman Barrier) · Energy 12 · Domination +5 · Heart Corruption (the dark of Tsuchimikado)
- Hex [Kata] — 2 Energy, 1 enemy within 2 zones gets -3 to all checks for the next 1 round
- Killing Curse [Kata] — 3 Energy,
2d10 + Wisdom(+3) ≥ Defense, 2 Wounds,[Incorporeal], range the whole battlefield (a different line from teppo and physical) - Fox Command — Squad Order (1 Energy, Wisdom+3 discount) → triggers the yoko squad's claws and Disguise
- Kaibutsu's Barrier [stance] — maintains a Barrier on the Kaibutsu's zone (see the Note below)
- (do not use) Sealing Art — harsh for 1st dan. Omit it for a first session.
#Boss-Battle Note — The Answer to the Barrier Is Not the Teppo but Exorcism
- A crucial trap: Maria's teppo
[Pierce all]ignores only armor and shields → it cuts Dosei's armor Defense (14 → base), but cannot pierce the Barrier. What pierces the Barrier is[Direct]or Exorcism. - The key to victory = the Exorcism PC: the esoteric monk Enku, the Pure Land Monk Renge, the onmyoji Seika (or a shugenja) break the Barrier with Exorcism (the Kaibutsu's automatic Barrier needs Exorcism ≥ 17, an ordinary Barrier takes 3 hits). After stripping the Barrier, cut down Dosei's 5 Wounds with teppo and melee. The joint effort is the answer — strip the armor with teppo, break the Barrier with Exorcism, finish with the blade.
- Pressure: From the Rear Zone, Dosei whittles the PCs with Hex (checks -3) and Killing Curse (2 Wounds) while working the yoko squad. Add the Floating Onryo Squad and Cohesion grows precarious — Renge's "Amida's Shield" shines.
- First-session safety valve: Dosei's Killing Curse (2 Wounds) may not hit the same PC twice in a row — a different target each round; the Wounds ≤3 fragile ones (Hanabi · Seika · Maria) are the first targets to spare in a first session. Even a Wounds 0 PC dies only after combat (per the cheat sheet, gently). If the pace turns brutal, drop the Floating Onryo Squad.
#When Dosei Falls
- The Barrier dissolves (active specialties stop). The yoko lose their command and scatter, and the borrowed faces peel away.
- The Kaibutsu Keikai at last attains nyujaku — with the binder gone, the living buddha quietly attains peaceful passing, and the temple's sanctified zone settles. There is no second boss battle.
First-session safety. Dosei is a low curse-rank of 5 Wounds (one notch above an oni warrior), so 4 PCs + two squads bring him down jointly. Do not use the Sealing Art, and keep the death rules soft.
#Rewards and Campaign Hooks
- Pardon. Return alive, and the crimes become as if they never were — the cord is loosed. (The meaning of the title.)
- Relationship with Sakon. The teppo-corps captain who was an executioner changes after returning alive together. An accompanying NPC for the next adventure.
- The Kaibutsu's identity. Why did Keikai hurry his sokushinbutsu? A leak in the spirit-vein (靈脈) beneath the temple, or someone who drove him to it — a thread for the next issue.
- The yoko's words. If you did not execute it, one yoko leaks at the end: "He did not become a buddha on his own — who made him so?" A campaign seed. (If you ran the boss-battle variant, the answer is Ashiya Dosei — but whose command he was under is for the next issue.)
#Enemy Data (canon citation — full stats)
A squad attack (Volley Fire, etc.) ends with a single hit-strength table — no separate damage roll:
2d10 ≥ target's Defense→ remove 1 trooper · total 13+ → 2 · 17+ → 3 · Critical Hit → 3 · Heavenly Mandate (10·10) → squad wipeout. Against an individual (a leader or lead) a hit = 1 Wound.
Turn order · enemy attacks. Squads and rabble do not track Energy — a PC moves them with a Squad Order on their own breath, and enemy squads · individuals act at the lull (or on a single breath the GM designates). Energy order is reckoned among the PCs only (ties broken by Finesse). Only individual bosses have Energy (Dosei 12, same order rule as a PC). An enemy attack =
2d10 + the stated attribute (+ technique modifier) ≥ the PC's Defense; rabble with no modifier use the attribute alone. The Floating Onryo's Chill Volley applies automatically without a roll (it can be answered only with a defensive reservation).
#Allied Squads
Convict Squad — 5 troopers (militia variant)
- Wounds 1 · Defense 10 · Cohesion 2 (low, being convicts) · Domination +2
- Bamboo-Spear Charge [Tactic:Kata] —
2d10-2 ≥ Defense, remove 1–2 troopers (max 2) - Use: become a wall with Shield Wall Formation (Domination ×1.5, no relocation that round). A cheap meatshield.
Teppo Corps — 5 troopers (Tanegashima)
- Wounds 1 · Defense 11 · Cohesion 3 · Domination +2
- Volley Fire — Squad Order (2 Energy, 1 if Wisdom+2) →
2d10 + Archery ≥ 11(fixed),[Pierce all]→ apply the hit-strength table above - Threatening Shot — no damage, Cohesion -2 to one squad (or a PC). The executioner's threat.
- Use: firepower. Cannot relocate while reloading (automatic at a lull) after firing.
#Enemies
Lesser Yoma (雜鬼) — rabble (Act 1)
- Wounds 0 · Defense — · Domination 0.5 · no technique
- Instant death just on declaring an attack. A warmup that is only numerous.
Yoko (妖狐) — trooper, appears as a squad (Act 2)
- Wounds 1 · Defense 11 · Domination +2
- Disguise (變裝) [stance] — disguises as a vanished scout or monk. Cannot be detected on a failed Perception ≥ 13.
- Claw [technique] —
2d10 + Finesse(+1) ≥ Defense, 1 Wound. Tries to slip into the Rear Zone. - The teppo catch yoko slipping into the Rear Zone by range (fixed target number 11, Volley Fire) — the answer for thinning out disguised yoko. (The yoko are Unarmored, so
[Pierce]is meaningless; what pierces their evasion and Barrier is[Direct]and Exorcism.)
Floating Onryo Squad — trooper (optional, pressure in Acts 2·3)
- Chill Volley [Incorporeal] — instead of damage, Cohesion -1 + Fear on an adjacent PC squad.
- Whittles Cohesion and threatens Rout (0) — a pressure source that puts weight on Cohesion management.
Kaibutsu Keikai (怪佛) — majin (Act 3, not an enemy to fight)
- Movement, attack, and speech all impossible · Wounds effectively infinite (decrease only by the rite of Exorcism)
- Sanctified zone — yoma in that zone Defense -2, and yoma in that zone Wounds -1 each lull. No mechanical harm to humans (just a chill in the air). To run it tighter, at GM discretion accumulate PC checks -1 for each lull spent in the main hall (recovered on leaving the zone).
- Automatic Barrier —
[Incorporeal]resistance, to break it Exorcism ≥ 17 - Spiritual Reflection — returns Sorcery and curses onto the caster themselves (the reason the scouts destroyed themselves)
- How to handle: "scout and return" is the answer. With an Exorcism line present, an optional high-difficulty bonus of quelling it with the Quelling Rite (Exorcism ≥ 13–15, cooperation bonus).
- Source:
Kaibutsu
Ashiya Dosei (boss-battle variant) — curse-rank sorcerer · Wounds 5 / Defense 14 / Energy 12. Full stats in the Act 3 Variant section above.
More enemies and squads:
co-08-02monster templates ·co-06-06squads ·co-07-01weapons.
#GM Notes — Keeping the First Session Safe
- Victory = achievement, not annihilation. The victory of this scenario is not "killing the Kaibutsu" but "living to see and report back." Make that clear from the start.
- Keep death soft. Wounds 0 is merely incapacitated; death is a post-combat check (
2d10 + max(Physique,Fate) ≥ 11). For a first session, fatal only when the players consent. - The Executioner Hook is pressure, not slaughter. Sakon's teppo is a tension device for controlling the PCs. For a first session, only up to taking aim and warning.
- Two squads are enough. Convict Squad (wall) + Teppo Corps (firepower). Tactic slots, support squads, and pitched battle are for another time.
- Spotlights by Class (the ▶ box in each act): pick only the classes present in the party and give each one, without leaving anyone out, a single shining moment. Keep the gains small — a fragment of a clue, target number -2, Cohesion ±1, Surprise Attack +2, roughly.
- Next step: What's Next — the next scenario and further reading · squad warfare in more depth
co-06· more enemiesco-08-02.